[Jekyll] Blog 시작하기(7)
Disqus 설정하기
Disqus를 사용해서 포스팅한 글에 댓글 기능을 추가할 수 있습니다.
_config.yml 설정 파일을 통해서 disqus 기능을 추가할 수 있습니다.
_config.yml 파일의 comments의 provider, disqus -> shortname, posts의 comments 설정을 변경해줘야 됩니다.
...
comments: #provider, shortname 수정 필요
provider : disqus # false (default), "disqus", "discourse", "facebook", "staticman", "staticman_v2", "utterances", "giscus", "custom"
disqus:
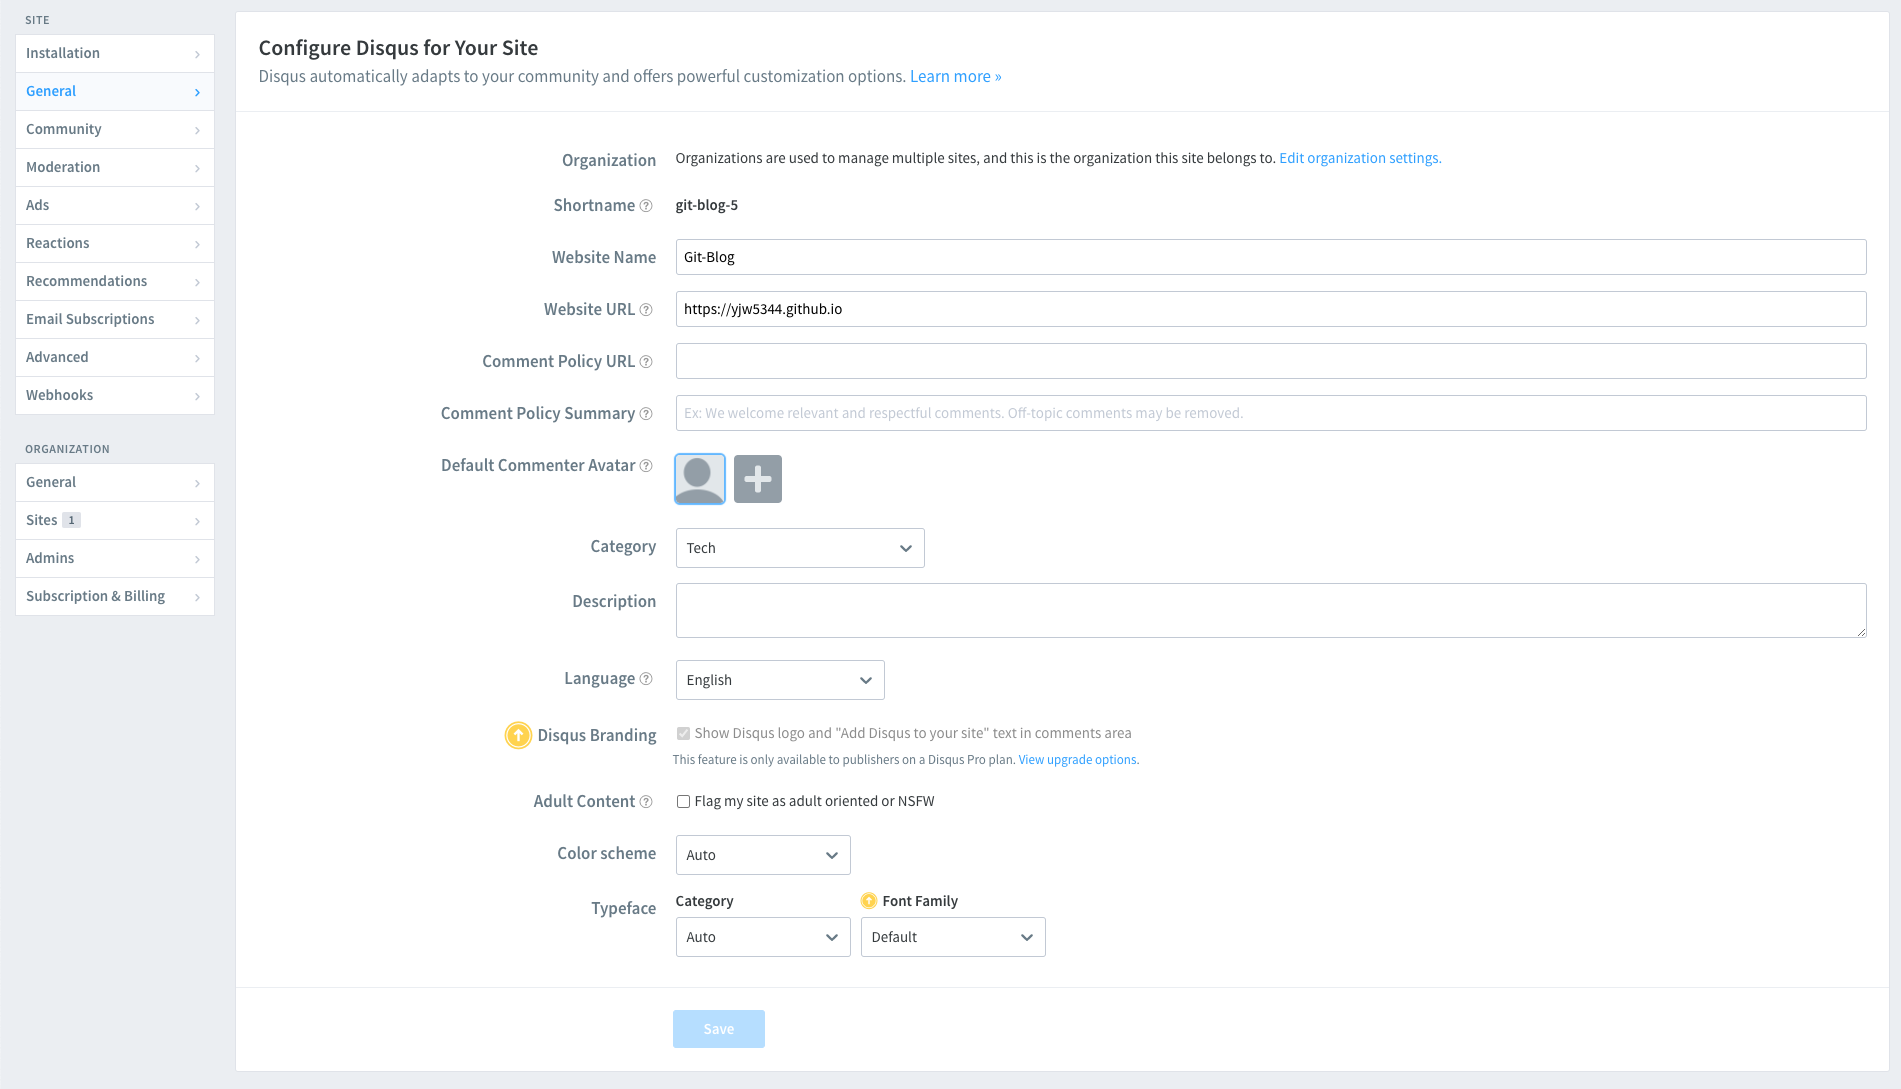
shortname : git-blog-5 # https://help.disqus.com/customer/portal/articles/466208-what-s-a-shortname-
discourse:
server : # https://meta.discourse.org/t/embedding-discourse-comments-via-javascript/31963 , e.g.: meta.discourse.org
facebook:
# https://developers.facebook.com/docs/plugins/comments
appid :
num_posts : # 5 (default)
colorscheme : # "light" (default), "dark"
...
# Defaults
defaults:
# _posts
- scope:
path: ""
type: posts
values:
layout: single
author_profile: true
read_time: true
comments: true # true # comments를 true로 변경 필요
share: false #true => (default)
related: true
Disqus 사용하기
https://disqus.com/에 접속하여 회원가입을 합니다.
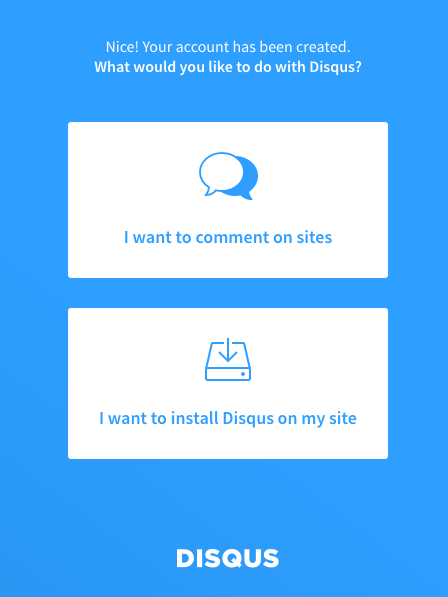
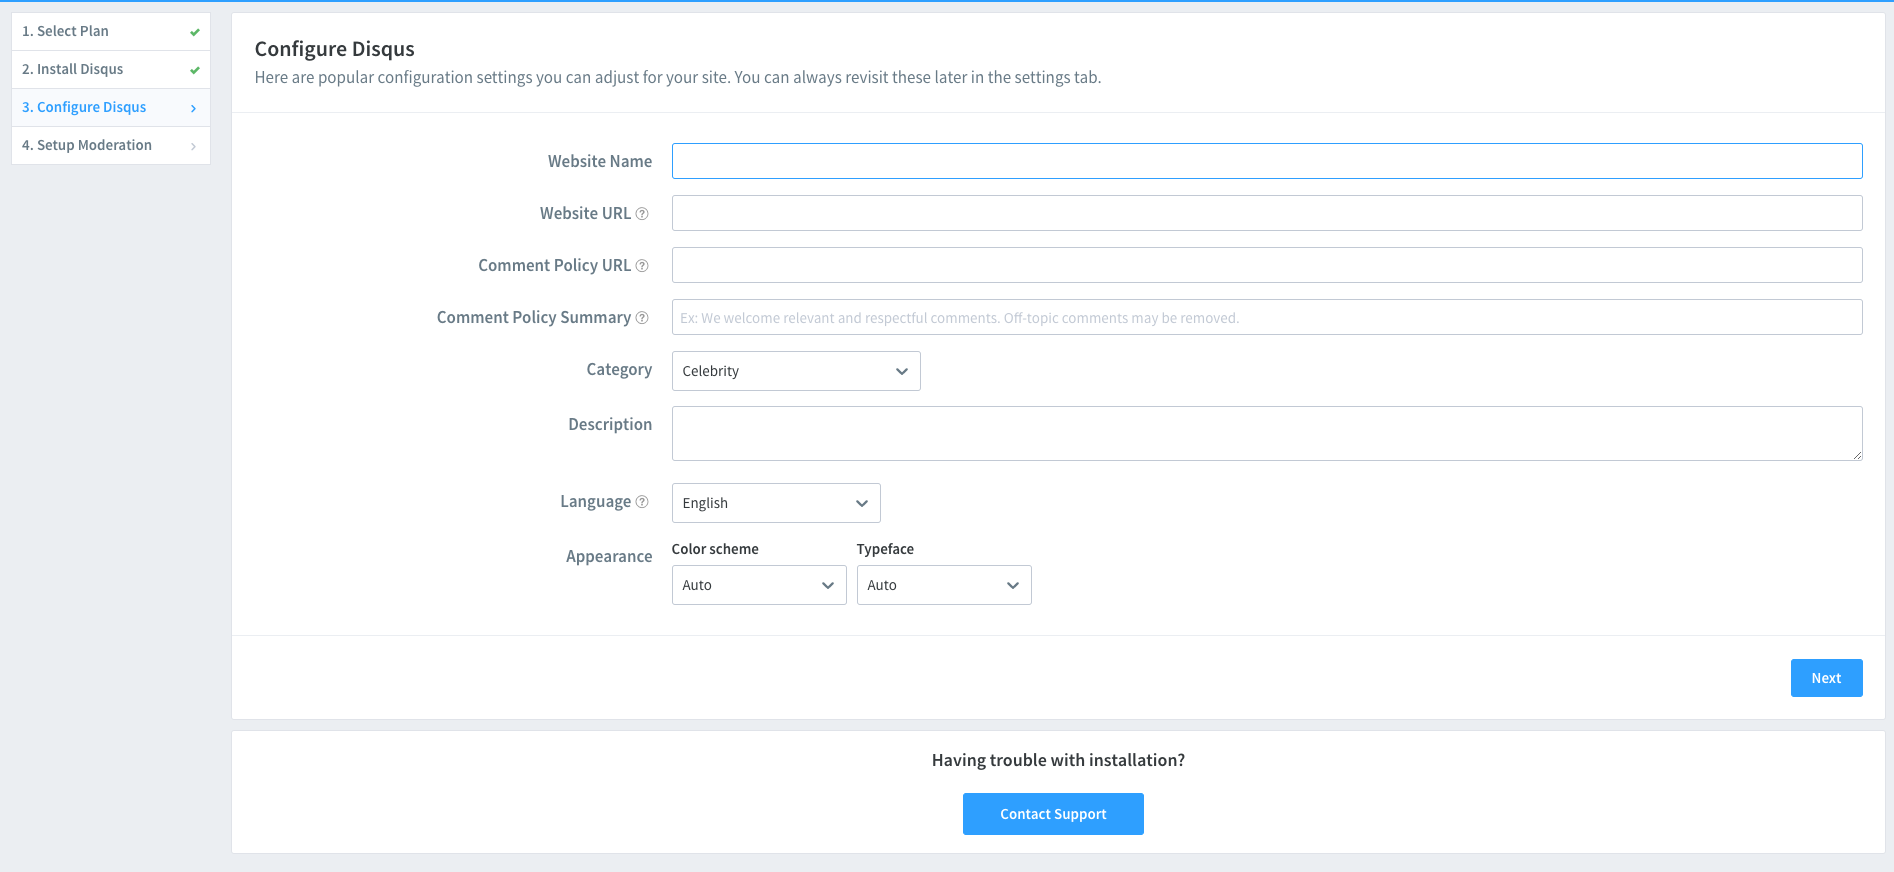
회원가입 완료 후, Get Started 클릭하면 하단에 있는 이미지를 확인 할 수 있습니다.
“I want to comment on sites” 클릭
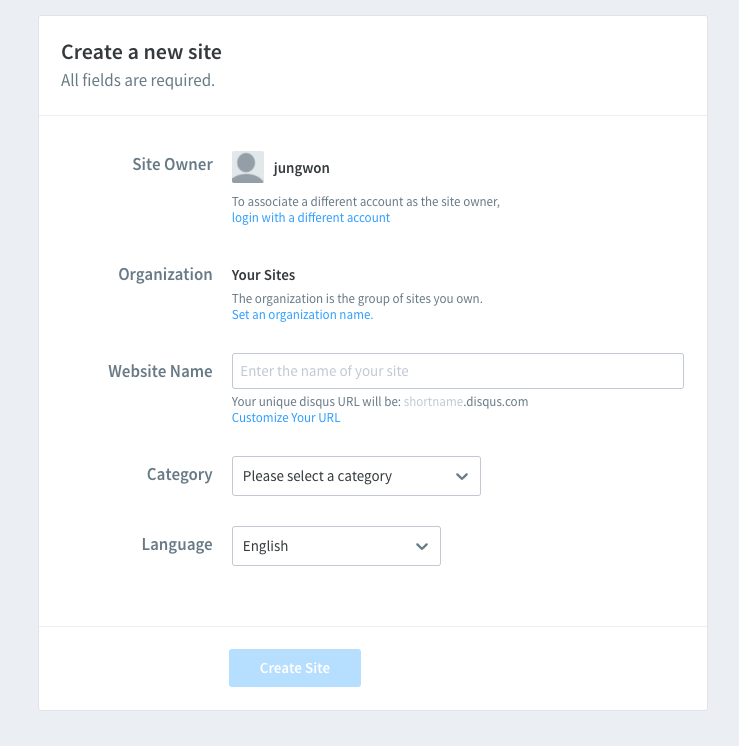
Website Name 입력합니다.
입력하는 이름이 나중에 뒤에서 사용할 shortName 값이 됩니다.
다음으로 Plan은 Basic으로 선택하고, Platform은 Jekyll을 선택합니다.
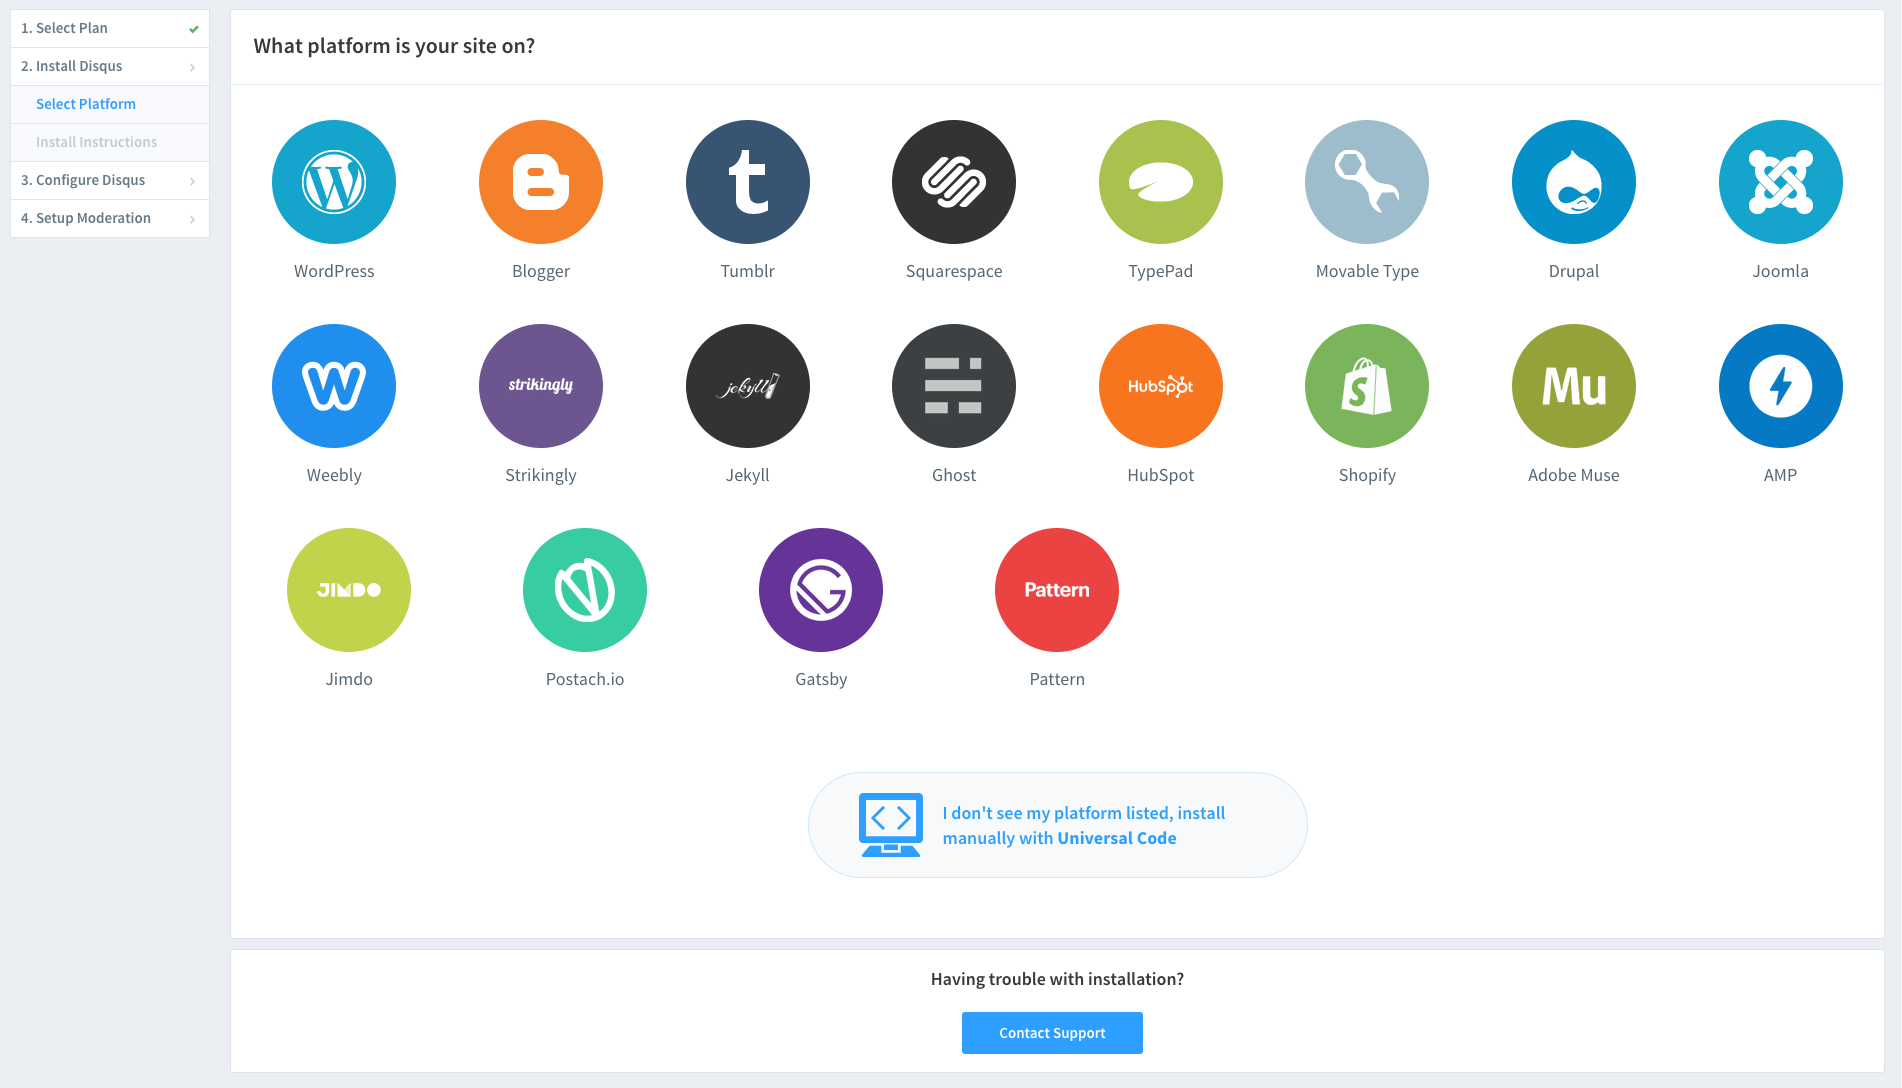
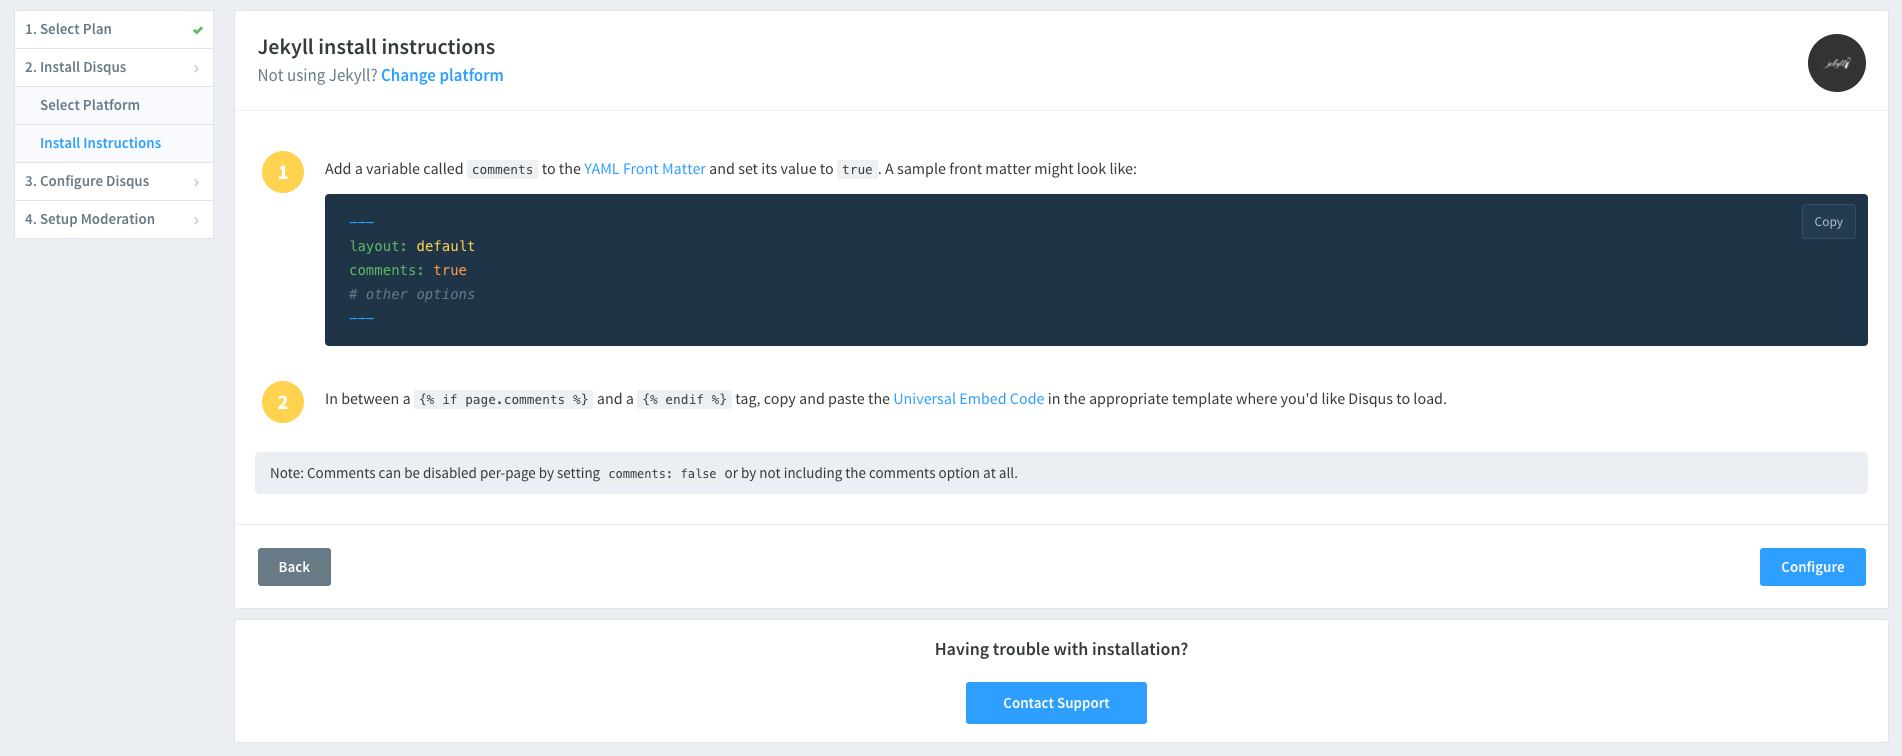
Jekyll에서 install 가이드를 확인할 수 있고, Confiqure 버튼을 누릅니다.
Website URL에서 자신의 블로그 URL 주소를 입력합니다.
추가 정보를 입력하여, Disqus 생성을 완료합니다.
생성한 Disqus의 Shortname을 _config.yml 파일의 shortname에 입력해주면 됩니다.
Leave a comment